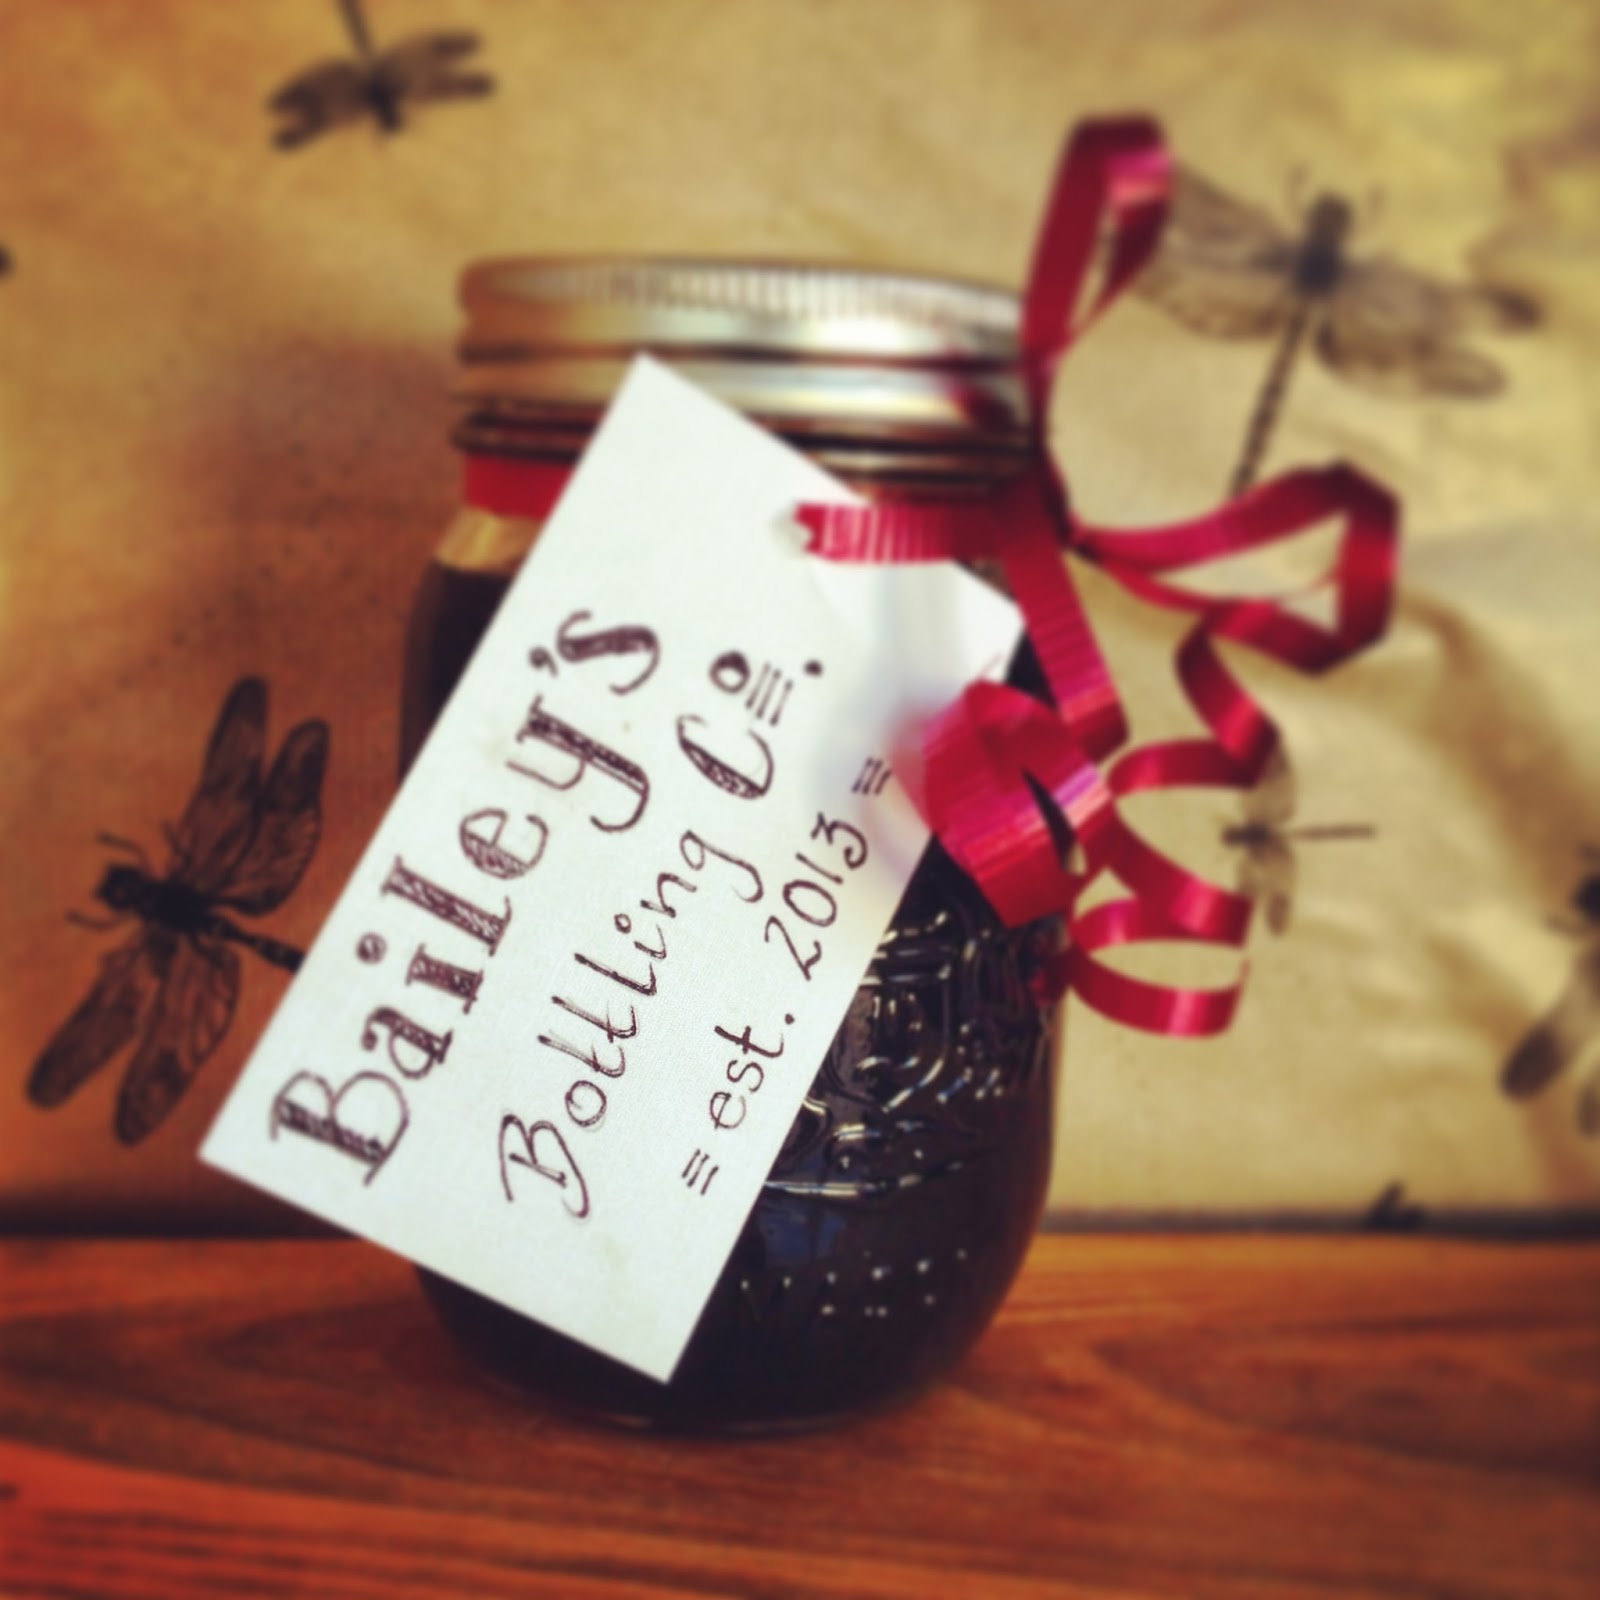
 |
| I basically made the jam so I could make a fun label. |
I have had quite the delightful weekend for
myself. I survived Southern Ontario Tornado 2013 and started Saturday with a
trip to the Farmer’s Market. I now have material for about ten posts, but we’ll
start with what I did today, which was blackcurrant jam.
I’ve never made a preserve of any type
before, for a number of reasons. One, I am not a pioneer. Secondly, it seemed
rather intimidating. It seemed it would take hours, and it also seemed like the
potential for poisoning and killing people was high. So I was put off,
obviously. Up until yesterday. Yesterday, those gorgeous little black currants
were just calling out to me, begging me to take them home and simmer them with
gallons of sugar, and then spread them on delicious various cheeses and
baguettes.
I acquiesced. I feel that at this point in my life, I am
enough of a grownup that I can follow instructions on preserving fruits and
vegetables and hermetically seal mason jars. I can do this. If pioneers could
do it, surely I can too. I was fairly good at Oregon Trail after all. Only one
out of every four people in my party usually died of dysentery.
So anyway, the important lesson here is
that jamming is not actually that difficult, and if you were the type of person
who didn’t kill every plant that came with 10 metres (not me), you maybe would have fruit producing trees. You may actually have bushels of fruit and this could be
a good way to deal with them. Mummy, as you may have seen in the jarring tomatoes blog, does this every fall. She once made a delicious cinnamon and peach jam, it was
perfect for a nice Brie.
 |
| Picked clean! |
I decided to add a splash of balsamic to my
blackcurrant jam, because that sounds pretty fancy and delicious to me. I think
you can really just be totally creative here and experiment with flavours. It
doesn’t have to be Smuckers Grape Jelly, because you are better than that.
Let’s begin. Start by ensuring your
blackcurrants are just fruit, no stems or leaves or anything. I know, you’re
thinking to yourself, “That sounds time consuming. That doesn’t sound like
Bailey. We know she hates attention to detail.” If you were thinking that, you
would be right. I hate that sort of thing. But try to think of this as a
meditative activity. Sit in the sun, sip your tea, and be in the Now. Enjoy the
beauty of the currants; be grateful for your health. Blah blah. Just do it,
because imagine the mortification if you served your homemade jam (which you
will do, and you will likely act superior about it, because you are clearly an artsy Lady (or man) of the Canyon) and then someone gets a twig or insect in the heap of jam on their nice sheep’s milk blue? Exactly. So take the time and sort through them.
Keep in mind you’re going to boil jars here, and disinfect and seal and do all
sorts of other tasks, so just take the ten minutes to go through the currants.
 |
| Things are happening here! |
Now, the time it took you to read that
bossy paragraph is all the time it will probably take you to go through your
pint of fruit. That’s what we’re using here. It’s roughly two cups. I know that
because I used a converter app on my phone, not because Ms. Graham, my Grade 10
math teacher, was able to permeate my teenage girl brain with important facts
like how to convert distance and weight.
Put your cleaned currants in a saucepan and
add 1½ cups of water. I also added a half-cup of balsamic vinegar. Bring to a
boil and then simmer until currants are soft, about 20 minutes. I didn’t cover
the pot for this, because I wanted the liquid to reduce. Add 3 cups of sugar.
Stir and simmer uncovered for about 10 minutes. In recipes, they will tell you
to look for a temp of about 220° on a candy thermometer, but who has one of those? Not me.
You’re looking for the setting point, or in my experience, when your wooden
spoon starts sticking to the whole damn kitchen.
Meanwhile, the important part of not poisoning
other humans. Boil your mason jars for ten minutes and then set them out on the
counter on a clean tea towel. Pour your hot jam into it (not completely to the
top, leave a bit of space) and then put the lid on it. Then you boil them
again, and let them cool. Check out the tomato jarring blog for that, because
the details are there and they are much better than I can write out here.
 |
| I realize this should say "LadyGirls Table" but that will be the next one! |
After you’ve gone through all this trouble,
you’ll possibly want to give away these jars, like you’re Martha Stewart or
something. Possibly, if you’re anything like me, you secretly wish you were a
super artsy cool graphic designer girl who just flits about town “seeing” art
everywhere and has this amazing Instagram full of pictures of sepia-toned forks
and leaves. If you had any inclination to be like that at all, you may spend a
huge portion of your day on Pinterest, looking for cool fonts that you can
re-create with a fine point Sharpie.
Maybe it’s time for me to go back to work.
Anyway, enjoy the jam!
No comments:
Post a Comment